Homemade Arduino.
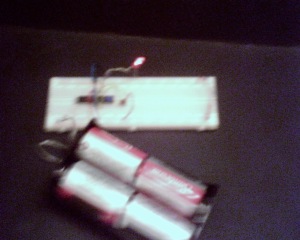
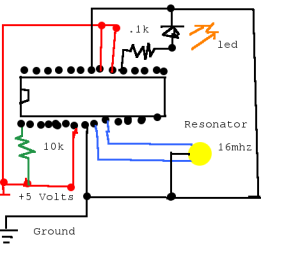
Building a stanalone arduino is like being a shadetree mechanic, but wihtout all the grease. If you have the original Arduino board with the removable dip Atmega328 chip you can very easily create your own standalone Arduino after programming the atmega chip while socked on the board. In this case, I purchased a single atmega328 chuip added a 16 mhz resnator and a 10k resistor to make the basic circuit. Using a crystal and two capacitors is more accurate especially for communication circuits. You can get prettier schmatics on line. With the aruino chip removed, you can even program it from the standalone circuit. http://arduino.cc/en/Tutorial/ArduinoToBreadboard has more information about setting up a standalone arduino.Simple blinky routine.
<code>
/*
Blink
Turns on an LED on for one second, then off for one second, repeatedly.This example code is in the public domain.
*/// Pin 13 has an LED connected on most Arduino boards.
// give it a name:
int led = 13;// the setup routine runs once when you press reset:
void setup() {
// initialize the digital pin as an output.
pinMode(led, OUTPUT);
}// the loop routine runs over and over again forever:
void loop() {
digitalWrite(led, HIGH); // turn the LED on (HIGH is the voltage level)
delay(1000); // wait for a second
digitalWrite(led, LOW); // turn the LED off by making the voltage LOW
delay(1000); // wait for a second
}
</code>


Comments
Post a Comment